DIY Origami Greeting Card Boxes
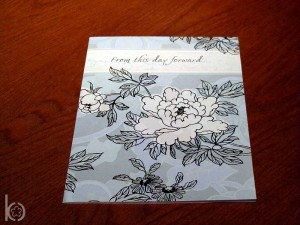
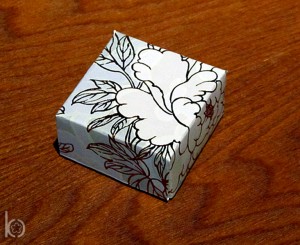
Today I’m going to show you a unique way to repurpose old greeting cards, or even new cards {especially if you’re giving it away… ;) }
I learned this when I was around 7 years old, when I used to hang out with my older sister and her best friend. We used to spend tons of time making these boxes and selling them on the sidewalk in front of our house. It was like our own little lemonade stand. :)
{Make sure you check out the bottom of this post for some great ideas of different ways to use these boxes for around the house or at your event!}
What you’ll need:
- Greeting card (or heavy paper, see the bottom of my post)
- Ruler
- Pencil
- Scissors
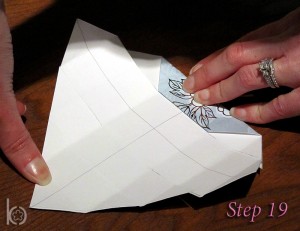
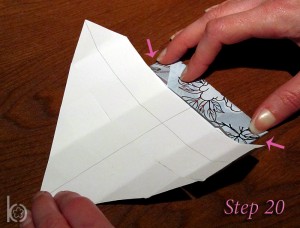
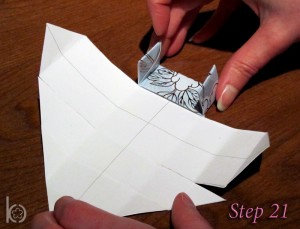
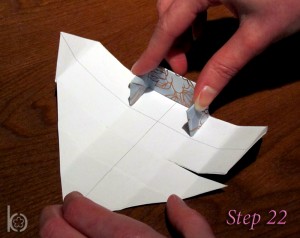
Please keep in mind that this is very difficult to explain through words, so definitely make good use of the pictures I’ve provided!
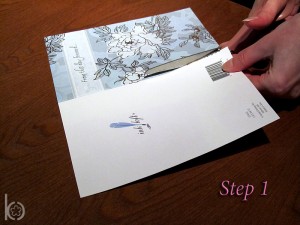
1. Cut the card in half along the fold.
2. Set the back portion of the card aside. Using the front portion of the card, decide what part of the card you want centered on the front of the box.
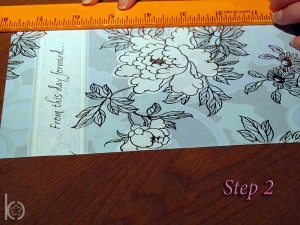
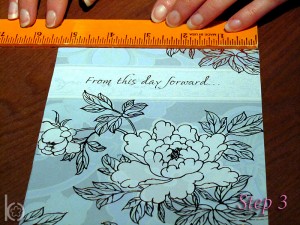
3. Measure the shorter side of your card.
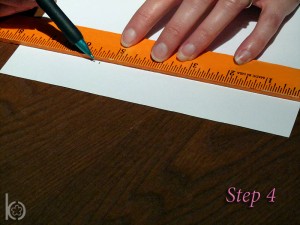
4. Keeping in mind what you want centered on the box, measure the longer side of the card to the same size as the shorter side (for example, if it’s 4”x6” measure the 6” side down to 4”). {We are going to create a square}
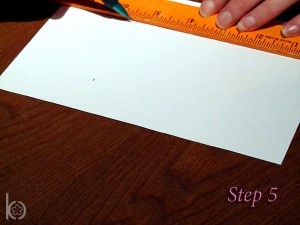
5. Measure a second time on the same side – this will help to ensure your line is straight.
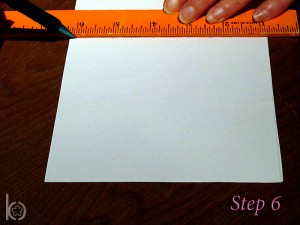
6. Using your ruler, connect the two marks and draw a straight line.
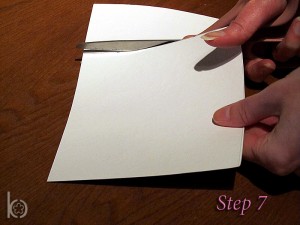
7. Cut along the line to create your square.
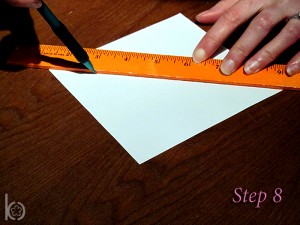
8. Use your ruler to draw a diagonal line from one corner to the other.
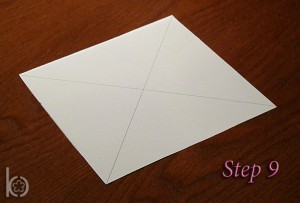
9. Repeat with the other corners, creating an “X”
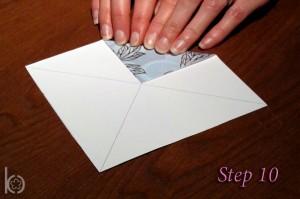
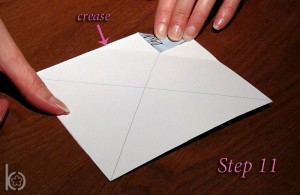
10. Take one of your corners and fold it the center of the “X” (make sure it stays straight)
11. Unfold and then refold the same corner to the crease you just made.
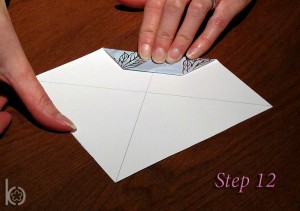
12. Keep this corner folded, and then fold it into the “X” again.
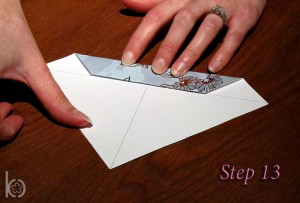
13.Fold into the center one more time (the fold should line up with your diagonal line).
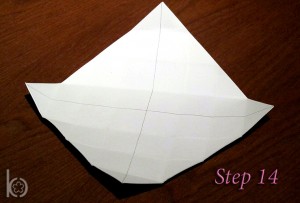
14. Unfold and then repeat this process with the 3 remaining corners.
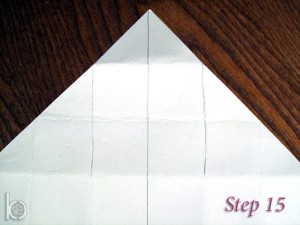
15. Mark the creases with your pencil as shown in the picture. {This step is optional, and you won’t really need to do it once you’ve practiced}
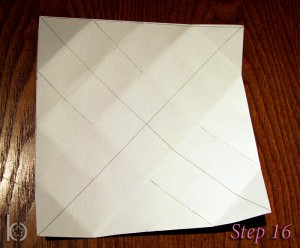
16. Repeat on the opposite side only (you will not mark all 4 corners)
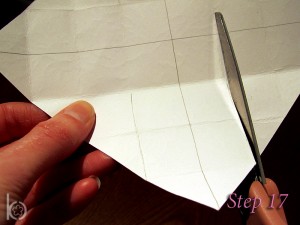
17. Cut along your pencil mark, making sure to stop when you get to the crease
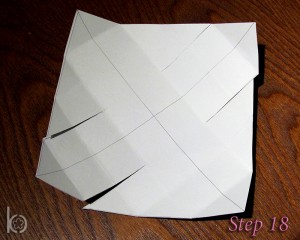
18. Repeat with all of your marks.
19. Take one of the corners that is not cut (should look like a triangle) and refold it as you had it before.
20. Fold in the triangular tabs on the sides.
21. Fold in the ends so that they stand upright.
22. Fold upward to create your first side.
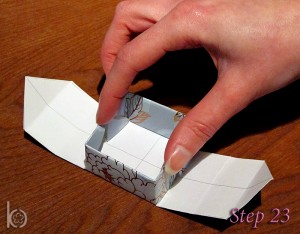
23. Repeat steps 19-22 with the opposite corner, and you should now have a standing square with two “house shaped” ends sticking out.
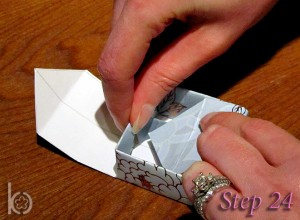
24. Take one of these “house shapes” and fold it up and over the side, pushing it down into the center of the box until it is tight.
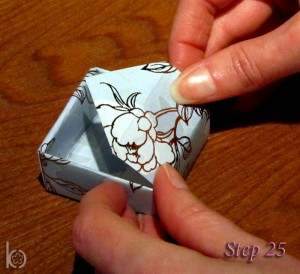
25. Repeat this on the opposite side.
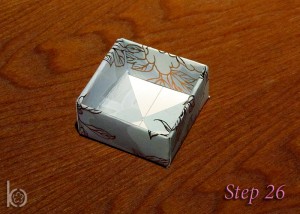
26. Now you should have the top of your box! Set this aside, and get out the back portion of the card that you set aside earlier.
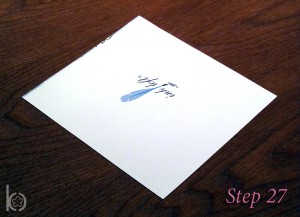
27. Since you probably don’t have a picture you need to center, cutting this portion down should be much easier. MAKE SURE TO CUT IT 1/4” SMALLER THAN THE TOP SO THAT IT FITS INTO THE TOP WHEN ASSEMBLED. (for example, if you measured and cut the top to a 4”x4” square, you will measure and cut the bottom to a 3 3/4”x 3 3/4” square).
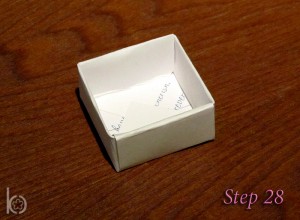
28. Once you have your square cut, repeat the exact same process you used for the top of your box.
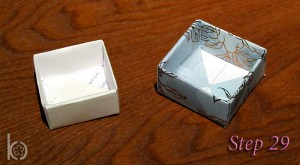
29. You should now have the top and bottom of a box!
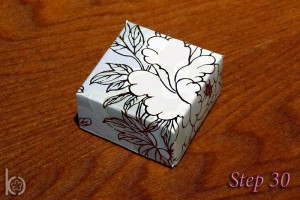
30. Put them together and you’re done! :)
*You shouldn’t need any glue or tape to hold your box together, but if you want them to stay secure and not be pulled apart later, then feel free to use some glue. :)
{How To Use These Boxes}
To dress it up a little: Since the inside of your box will show some of your pencil marks, I recommend you make the marks lightly, and then erase the marks once the box is put together. Another way to dress up the inside and not have to erase all the pencil marks would be to cut squares out of paper, felt, or fabric to the size of the inside of your box and glue them in place.
For organization: If you want larger boxes, you can always use a heavier paper (like cardstock), and start with a larger square. You can also use a lightweight poster board for very large boxes! Since you can’t use a really heavy material (like cardboard) because of all the folding, these will not be the sturdiest boxes, but they are still great for organizing small, lightweight items around your house!
For style: If you want boxes in a specific color or design, you could also use a heavy scrapbooking paper! This would be SO cute to use in organizing an office, or around your home! {Plus, most scrapbook paper already comes in a square! Just don’t forget to cut the bottom piece of paper down so it fits in the top – and I only remind you of this because I’ve forgotten before… :) }
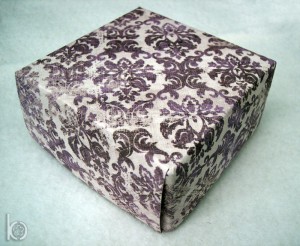
Check out this box I made out of some beautiful 12″ x 12″ scrapbook paper:
To make this box I chose a double sided, heavier paper. I used the detailed side of the paper for the top of the box, and the coordinated back side of the paper {mine was just plain purple} for the bottom of the box. To give you an idea of how big your box will be using 12″ x 12″ paper, this box measures 4 1/4″ by 4 1/4″ when folded.
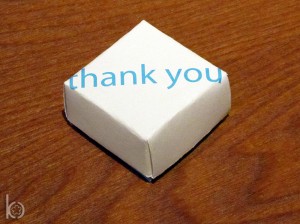
For your wedding: Think about using a thank you card (being sure to center the lid around the thank you) and use it to wrap gifts for your bridal party. Or, if you’re really ambitious, use the box as a favor at the wedding! Keep in mind that if you don’t want to pay a fortune to buy all those greeting or thank you cards, or you want a more customized look (with your name and event date), we have custom, printable box templates for sale in our Etsy Shop!

